Showing posts with label Canning. Show all posts

Thursday, November 29, 2012

A Well Stocked Pantry

I love Christmas. I'm not ashamed. I know lots of people hate the holidays and can't wait to get it over with. I must be an odd duck because I just can't seem to outgrow it. I was hoping to get into the basement this afternoon to pull out some lights, but I have a thing about decorating. The house has to be spotless. I started cleaning in the morning and by the time I was satisfied it was well into the afternoon and a little too late. So this weekend I will go nuts. In the meantime I'll share what I finished today.

Look at our pantry!


Completely organized! I couldn't even fit it all in the photo without tripping down the stairs into the basement. Not bad for a first year canner.

And I finally got the cupboard door up. Its just a quick sketch, but at least its right-side up this time.


I still need to paint the inside of the upper cabinet, but I think its looking pretty good. I'm hoping if I get it cleared out most of my canning supplies will fit up there.

I was planning on making cookies too, but the day just got away from me. The husband and I finished our night with a caramel apple instead.


I've gone with my husband's mom and aunt for the past three years to the Custer's Christmas Arts and Crafts show. It features all kinds of local artists, crafters, and treat makers. I always bring home a caramel apple for me and my husband. This year I had to work but my mom-in-law got us an apple anyways We're so lucky! These are made by Big Bear Chocolates, here in Spokane.


 Nom!

Wednesday, November 28, 2012

Homemade Apple Pie Filling

This last weekend went by so fast. We had a nice Thanksgiving with friends and family. I got to cook more than I thought I would, which was a good thing. We also got a start on our holiday shopping, though we are going to be mostly giving away homemade gifts and goodies this year. Most of the weekend was spent canning. We made one last final attempt to use up the rest of our apples and were quite successful.

Saturday we picked up a water bath canner. Up to this point I had been using the pressure canner for everything. The pressure canner is faster and smaller, however most of the recipes for fruit are written for water bath processing. This meant that every time I found a recipe I wanted to try I would have to go into my Mirro manual and check all of the ingredients to see which had the longest processing time. It still worked quite well though. The only reason we realy needed the water bath canner was for its size. We wanted to try canning apple pie filling in quart jars, and maybe only one or two would have fit in our pressure cooker.


Apple Pie Filling


This was a really fun recipe that I found it in an old Better Homes and Gardens canning book. This was my first time using the raw packing method. Rather than cooking everything together, the apple slices are packed into the jar raw and then covered in hot syrup.


Here's the new water bath canner. It barely fits on one burner. However it does fit six quart jars without any problem.


This would have taken us a very long time using the pressure cooker, But they all fit snugly into the water bath, with room for probably one more.


I can now see why people say its so handy to have the long handled jar lifters. That water bath canner gets really hot. This is the processed pie filling leaving the canner.

I'm not going to lie. I had my first non-sealing freakout with this batch. About 30 minutes into cooling I checked the seals (I know you're supposed to let them sit for much longer, but I was too excited). Only two of the jars had sealed properly. I could have cried. Long story short, larger jars take much longer to cool, and therefore much longer to seal. I checked again several hours later and they had all sealed just fine. Patience really is a virtue.


Besides the pie filling, I also did several quarts of apple sauce and some smaller jars of apple jelly. The best part is that we are now officially done with our apples. I will be trying out the pie filling this weekend. I've never made a pie from scratch so wish me luck.


Friday, November 23, 2012

Apple Peel Jelly and More Chalkboard

Despite being incredibly busy and working way more hours than I ever would want to at work, I've been able to get a few small projects done this past week.

We have two buckets full of apples left. At this point I'm pretty sure they're McIntosh, but thats just a guess based on the color and how sweet they are. They will probably only be good for another week so we've been in a hurry to use them all up.

I had Monday off, so  I spent the day canning applesauce and a jelly that was made from the peels and cores. I really cannot praise this jelly recipe enough. Not only did I get use out of the cores and peels that I would normally throw away, but it tastes amazing. More like an apple infused honey than a jelly.


 Here are the jars cooling. As always I was a little concerned about the jelly setting up, but it turned out fine. This was my first time using a recipe that called for pectin, so I was nervous that the taste might be off, but I really can't stress how awesome this jelly is. Recipes! :  Applesauce and Apple Peel Jelly.

I also tested out my new chalkboard cupboard door. It works well. I'm really into faux bois (French for false wood, cool huh?) right now, but this rough design didn't seem to work all that well with the pig that would be below. Plus I drew it on upside-down. Oops.


I guess its back to the drawing-board. Haha. Okay, I'll stop.


This little piggy went to market...
The new chalkboard door will open up just above this larger one.


Lastly, my crowning achievement of the week, I woke up super early Thanksgiving morning to clean out the fridge! Some of you may remember how my attempt last week somehow turned into cleaning behind the fridge and then painting back there and then painting the trim above the cabinets, etc...


I was going to post pictures of the inside but then I realized how pathetic it was for a married couple to have their fridge stocked like a bachelor. Soda, beer, condiments and eggs. Done and Done.

Hope everyone had a wonderful Thanksgiving with friends and family. The holiday season is officially upon us. I will start working on making labels for all my canning projects in the next few weeks. :)

Saturday, September 22, 2012

Canning Salsa

This last Thursday I attempted to make and can homemade salsa. We have a plethora of beautiful veggies that was given to us by my mom-in-law, who happens to be an amazingly talented gardener. Every year she grows heaps of herbs, potatoes, tomatoes, squash, carrots and peppers. My husband isn't really a tomato person, and we had too many for me to finish on my own, so I was very excited about the idea of using some to can salsa.

I wasn't really sure how it would turn out. I'm really much more of a fresh salsa kind of girl. I love to just chop up fresh tomatoes and pepper, add a bit of cilantro, garlic and onion, add a splash of fresh squeezed lime and I'm in heaven.


I started out with these cute little tomatoes. Mind you, this is only about half of what I used in the recipe and maybe a quarter of what we have still in the refrigerator. In the end I used probably close to seven cups of these little tomatoes. To prepare the skins for removal I boiled them for 45 seconds and then let them sit in ice cold water. Removing the skins was very easy, but it was also quite time consuming due to the tomatoes miniature size.


After removing the skins, I squeezed out as much of the tomato juice as I could, so that the salsa would not be runny.


I chopped up two green bell peppers, fresh from farmers market.


Here are some of the peppers that my mom-in-law gave us. I'm still not even sure what all of them are. Every cooking show I have ever seen has said to remove the seeds. In my fresh salsas, I like to leave them in because I like a bit of extra heat. I figured though, that since this was my first time making cooked salsa I should probably try to follow the rules just this once.


I cored each of the peppers and removed the seeds (as sloppily has I could to leave a few behind). Look at that beautiful rainbow of pepper!


I Chopped up some fresh cilantro too. I was pretty bummed that I couldn't use my own. I accidentally over harvested a few weeks back and am probably going to have to replant. I chopped one whole onion, one clove of garlic, added some salt and squeezed the juice from one lime.


I then threw the the whole mess in a frying pan and started cooking on high heat.


After just a few minutes the salsa began to cook down and release its juices. This made the house smell amazing.


After everything was cooked through, I threw everything in the blender for about 30 seconds to make a prettier prettier and more even consistency. I then poured it all back into the pan for several minutes of cooking.


Canning the salsa was easy enough, though I had the hardest time finding advice on how to pressure can salsa. Almost all salsa recipes are processed using the hot water bath method, and and as such include either vinegar or lemon juice to increase the acidity. My own recipe included lime juice, but probably not enough to make this type of canning safe. I looked up each of my ingredients and found the necessary pressure cooking time for each. The only one I couldn't find was cilantro, I decided this would probably be considered a "green" and would require one hour of cooking at 10 pounds of pressure. I realize this was probably going way overboard for salsa, but I would much rather be safe than sorry.


Here's the result. I haven't opened either jar yet, but I tasted the salsa before I stared canning. Its much sweeter than I expected due to all of the cooked peppers. I must admit that I was disappointed about the level of heat. I like my salsa with quite a bit more kick, so next time I will not be removing any of the seeds. Still, it should go nicely over chicken or inside enchiladas.

I will let you know how my next batch goes.


Thursday, September 13, 2012

Homemade Jam

Well we did it. We finally took the plunge and tried it. We made and canned our own jam. It wasn't nearly as difficult as I expected, and so far the preserving has been a piece of cake.


I did the first batch on my own, early last week. I wanted to take it slow and read through the instructions as I went. Even so, I still ended up a little confused.

At this point I have about four home canning instruction/cook books, plus the original booklet from my 1977 MirroMatic Pressure cooker, and of course the internet in all of its vast and unending glory. Needless to say I had a bit of information overload. In the end I used simple pectin free recipe that I found online and combined information on preserving from everything else.


The first step was to gather and wash all the supplies. This is what I thought was all the supplies before I started. Add a couple spoons, frying pan, ladle, cooling racks, paper towel, magnetic wand, hand towel, huge pot, small pot, jars, lids and sealing rings, and then maybe you have everything. Lucky for me I had everything, just not in the picture.


The next step was measuring out ingredients. I don't mind raspberry seeds at all. some people might prefer to have them removed, but I think they're just fine. I just squished them up by hand and measured it out.


Then I added sugar. Lots and lots of sugar. Almost all of the sugar in our house.


This is what it looks like after being cooked for a bit. Beautiful gem tone jam. I was a little worried that it was too fluid, but it thickens as it cools. There was a bit of foam, but that was removed easily by using a spoon and scooping it out.


While the jam was cooking I did some serious mulitasking. I had jam cooking to perfection on the lower right burner, jars sterilizing on the lower left, lids and rims sterilizing on the upper right and pressure cooker boiling on the upper left. Whew!

Filling the sterile jars with jam was actually really fun. Really messy and sticky, but fun. I don't have pictures of this step because 1 I was trying to be as sterile as possible and didn't want to touch my phone that I drag everywhere ( I didn't want sticky fingerprint on my phone either) 2 I really didn't want pictures of my stove top splattered with jam drippings floating around the internet. Trust me though, this part was really fun.


So next I loaded up the pressure cooker with the filled jars of jam, sealed it and let it do its thing (while cautiously peeking around the corner from the next room). I admit I'm still not completely comfortable with this device. I just about bit my husbands head off the other night for just touching the pressure control without having properly read the instructions first. It hasn't exploded yet though, so I guess we're doing okay.

After processing and having released the pressure, I removed the jars and let them cool. I'm not sure how long it was, it seemed like no more than ten or fifteen minutes later, I began to hear the sweet sound of little tinks coming from the kitchen. The lids make a little popping sound as they cool, but only if the jars have sealed properly. I think this sound put a smile on my face that was a mile wide.

After a few days of waiting for the jam to settle and searching thoroughly for signs of spoilage, we tested it out...and it tasted like jam! pretty good jam too.


My husband really wanted to help with the blackberries. He loves blackberry jam. We made two more batches yesterday with the blackberries. One recipe included just a bit of lemon. The second we added a bit of orange juice since the last of our blackberries weren't quite as ripe as they could be. My husband insisted that we remove the seeds from these since they tend to be a bit more noticeable.


We used a food mill to remove the seeds and any insides that wouldn't taste as sweet. It worked out really well. The process for the blackberry jam was pretty much the same as that of the raspberry, except it went much smoother since I wasn't double checking my sources every step of the way.


The fruit of our labor!

Five and a half jars of blackberry jam and six jars of raspberry (Some is already in our fridge). Turns out I really like canning stuff. This week I will be trying to can green beans from farmers market, and then in October we can look forward to apple butter from the tree in our back yard.


If you're interested in trying it yourself, here are the recipes for raspberry and blackberry jam that we used.


Thursday, August 30, 2012

Pre-canning Berry Picking Goodness

We're getting so close! I have pretty much everything we need. My family has been so generous, dropping of canning supplies and cookbooks, and I'm almost ready. I tested out the pressure cooker on Monday too. Not for canning but just a normal meal to get comfortable with it. I was nervous at first but I'm still alive to tell the tale, and the food didn't come out half bad either.

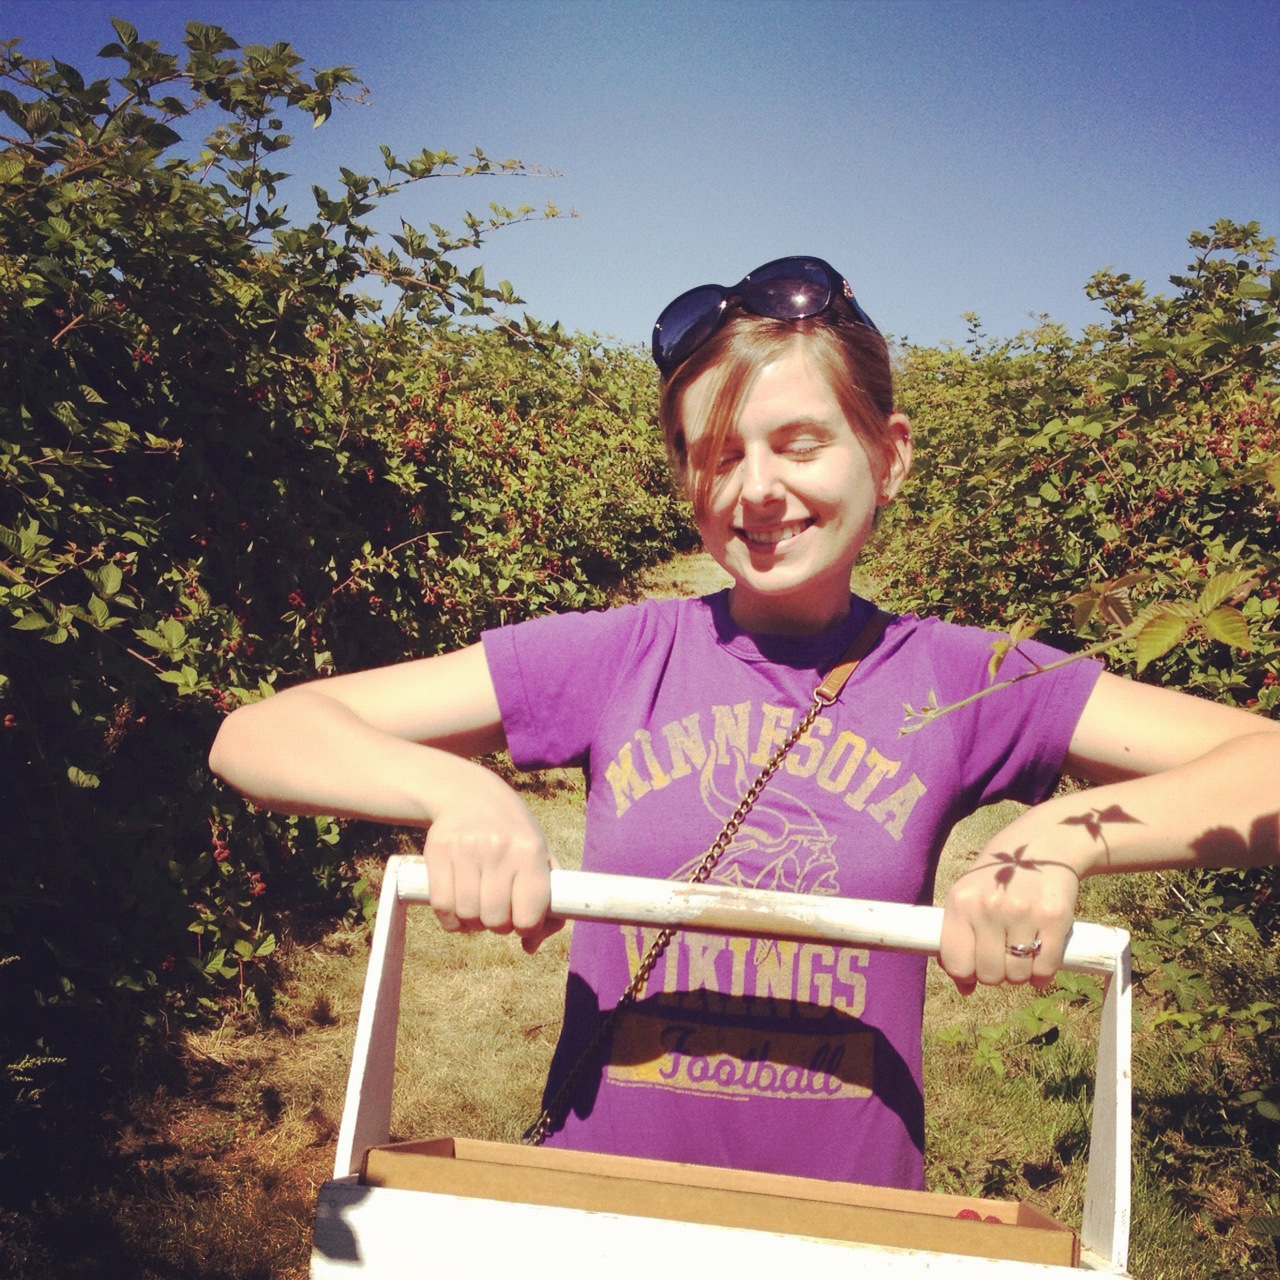
The husband and I both had the day off today, so we drove up to Green Bluff to pick berries. We stopped at Knapp's Berries and loaded up on raspberries and blackberries. We had a good time and picked about five pounds in all.


There were bees but they didn't seem to be bothered by us too much. No stings. It got really hot towards the end, so I think next time we'll have to leave much earlier in the morning.


My husband was much better at picking than me too. He attributes this to his Iowa roots. I'm not sure if I'm convinced. We only picked enough for a small batch of each jam, so if things go sour we won't have too much to cry about.

 
As much as I love Spokane, its nice to get out of the city, even for just a few hours. Green Bluff is a community of growers just north of Spokane, and its nice for a day trip. Its beautiful up there and have you ever noticed how things always taste so much better fresh picked than from the super market? Hopefully we will be able to go back for pumpkins in a few months.

Tuesday, August 14, 2012

A Mysterious Little Book

Last week this little book showed up at my door. No note or anything. It was just there when I got home.


Putting Food By

This book is awesome. Its all about the different methods of preserving food. It has instructions on canning, freezing, drying, and some other things I've never heard of (Root cellaring?), plus a bunch of recipes for pickling and making jam.


I'm really excited about this because 

1) The cover art is awesome. Enough said. 2) I've never been able to go small with food. I grew up with a lot of siblings and as such I never really learned how to cook in small quantities. This is a bit of a problem in a two person household. We always end up with a ton of ingredients that I can never figure how to use up or a refrigerator full of leftovers that no one really wants to eat. Learning to preserve some of the ingredients should help to reduce a bit of the waste. 3)  I've been wanting to try canning for a while now. Over the weekend I acquired a garage sale pressure cooker from my uncle, so... anyone up for a trip to Green Bluff to pick some raspberries?

Thank you to whoever left this on my porch. If you fess up you might even get some homemade jam out of it.